The Problem: The Complexity of Multi-Dose Precision
Many researchers struggle with the transition from vials to pens. The frustration usually stems from two areas: mechanical assembly and mathematical conversion. How do you know if the cartridge is seated correctly? How many “clicks” equal your specific dose?
If you get the math wrong, you’re either under-servicing your biological “construction site” or over-saturating it. We will solve both issues today by breaking down the anatomy of the pen and the logic of the click.
Step 1: Anatomy and Assembly
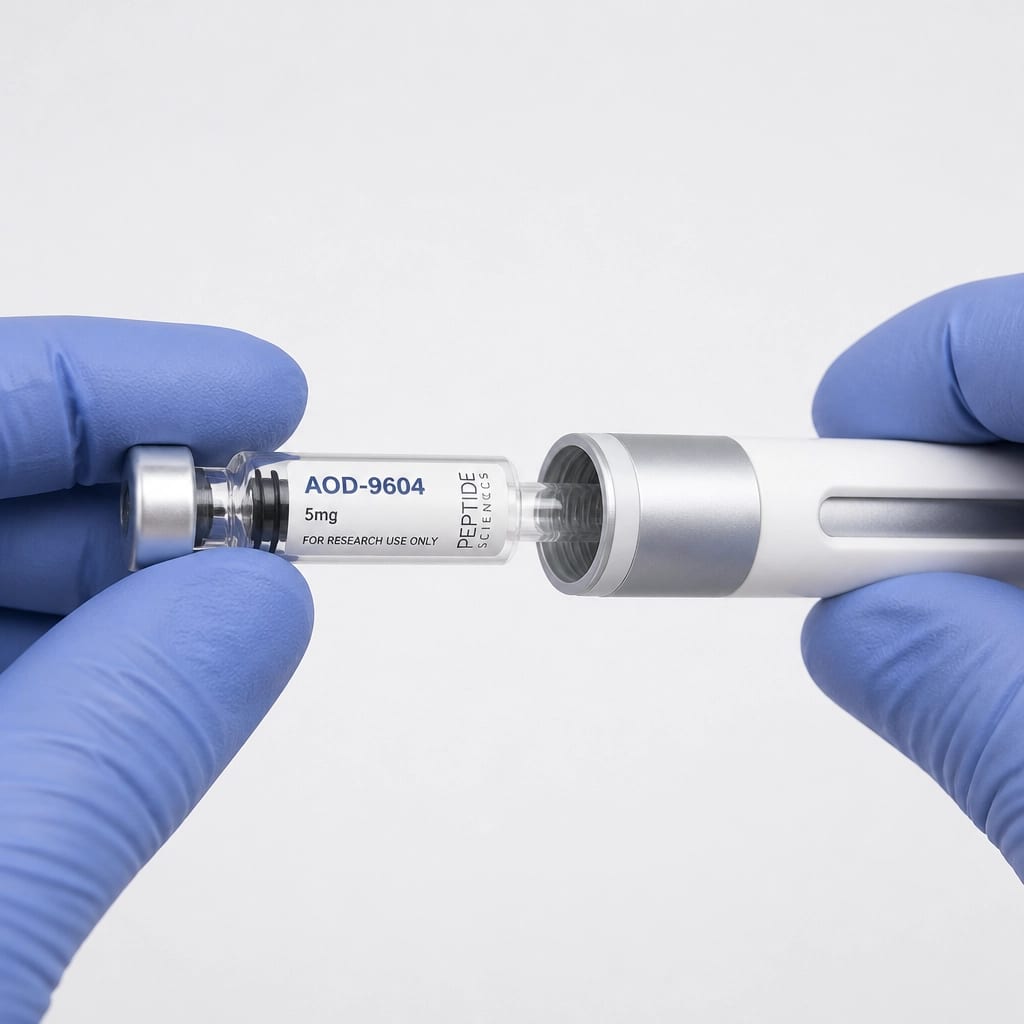
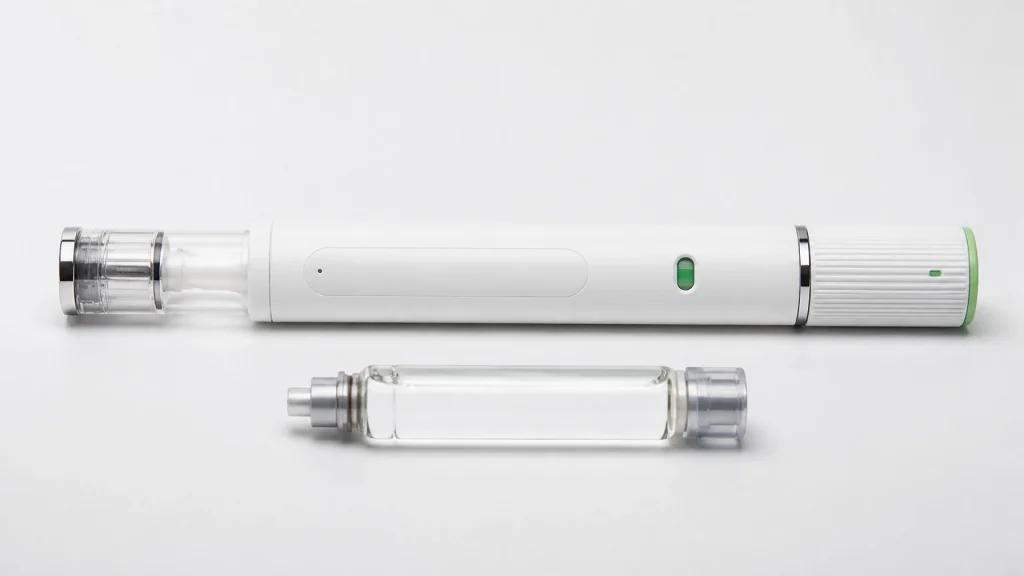
Before you can drive the car, you need to know how to put the engine together. A peptide pen typically consists of three main parts: the Pen Body (containing the plunger mechanism), the Cartridge Sleeve (the transparent housing), and the Needle Attachment.
Preparing the Cartridge
Your cartridge is the fuel tank. Ensure it is clean and the rubber stopper is intact. If you are using a refillable system, you will have already reconstituted your peptide in a separate vial (as covered in Article 2) and transferred it into the cartridge using a sterile syringe.
Loading the Housing
- Retract the Plunger: Most pens require you to “reset” the internal lead screw. Think of this like winding a clock back to zero. You will often need to rotate the plunger or press a release button to ensure it is fully retracted.
- Insert the Cartridge: Slide the glass cartridge into the transparent sleeve. The rubber stopper should face the pen body (where the plunger will strike it).
- Secure the Assembly: Screw or click the cartridge sleeve onto the pen body. You should feel a firm connection: like a well-fitted puzzle piece.